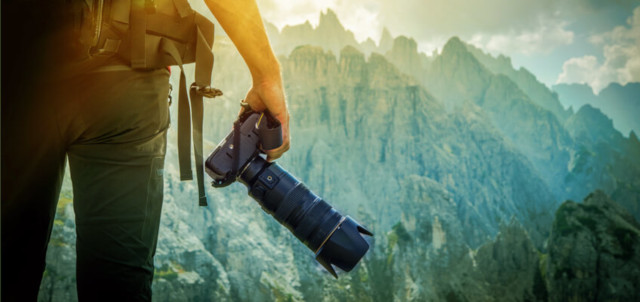
Travel photography is a fascinating profession.
The photography industry is growing at a rapid pace, thanks to the popularity of social media platforms (Instagram and Facebook) and the need to capture every moment of our life when touring different places.
In fact, according to data from Zion Market Research, the global photography industry is worth more than $77 billion and is projected to grow to $110 billion in 2020! Now is a fantastic time to be a professional photographer, more particularly, a travel photographer. However, to be a professional travel photographer, you need to be a good editor.
Great editing skills help you bring your photos up to scratch to attract viewers. Therefore, if you’re starting out, here are some key travel photography tips for beginners.
1. Cropping
Cropping is an important photo editing step for any beginner, budding, and experienced travel photographer. It allows you to eliminate or trim the edges of your travel photos for picture perfection.
Specifically, cropping helps you to improve the composition of your travel photos, enhance their visual impact, and rid them of distracting objects. It also helps you to change their orientation and aspect ratio.
2. Background Removal
As a travel photographer, you can take photos with a great subject line, but the environment can destroy everything. You can also take a great photo of a product, but the scenery or certain objects can distract from it. In these scenarios, you’ll need to remove the object, or change the background to achieve the result you want.
There are many background removal tools out there that you can use to get rid of unwanted objects or change the image background, such as Photo Scissors, Background Burner and Clipping Magic.
However, if you lack background removal skills, you can solicit the services of a background removal service provider to do it for you. Clipping Path Center, is one of the best background removal providers out there.
3. White Balancing
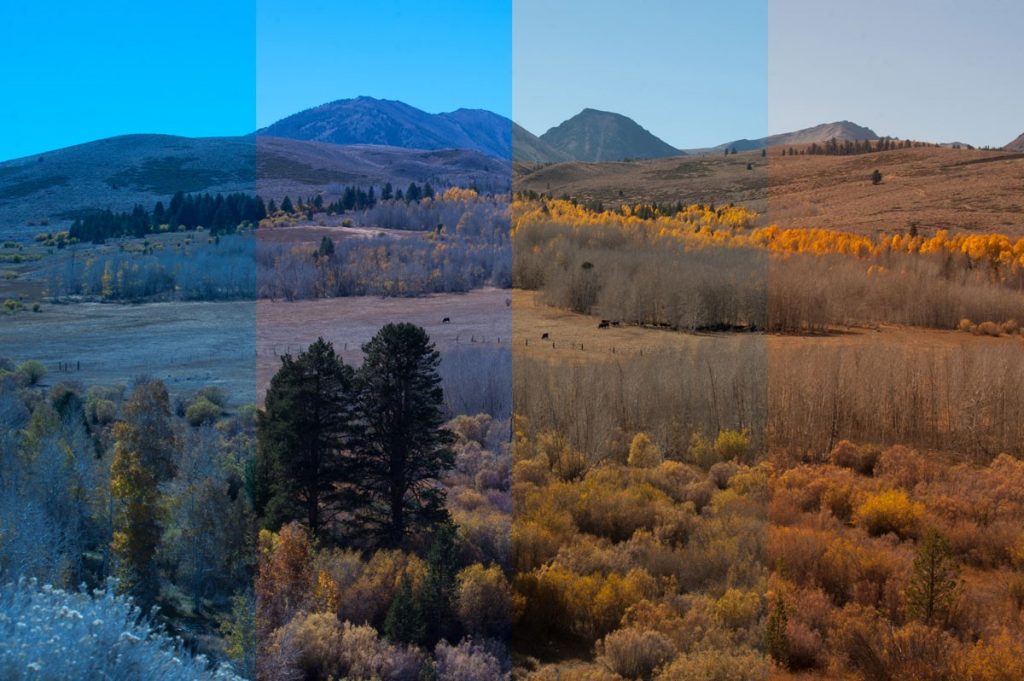
A good white balance is key to how your travel photos look and feel. Adjusting your white balance can entirely change the meaning of your travel photos. When we talk about white balance, most beginner travel photographers only think of adjusting the temperature to the required value.
Source
SHowever, you can use white balance professionally and creatively to adjust the feeling of your travel photos as well. For instance, a warm white balance gives your travel images a feeling of peace, calm, trust, joy and contentment. A greener white balance gives your travel images a sad or an easy feeling. A blue, white balance on your image depicts the golden hour when the sun is setting.
It’s a good idea to play around with the white balance to see how different your travel photos can look. That will help you choose the right white balance setting for your images.
4. Contrast Manipulation
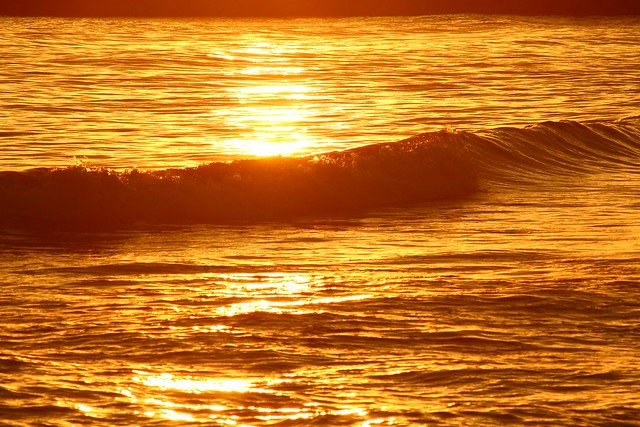
Learning how to manipulate contrast will significantly affect how your travel photos turn out. Adjusting contrast in photography means changing the color or tone of the photos. Higher contract brings out your travel photos in a different way to lower contrast. Tone is the most used contrast in photography.
Source
It’s the difference in brightness of your travel photos. An image is said be of a high tonal contract if it’s composed of very bright and dark tones. Contrast is very important to a photographer because it helps them pass across a message or a mood to the viewer. Besides tonal contrast, you can use conceptual and color contrast to manipulate your travel photos.
5. Exposure Adjustment
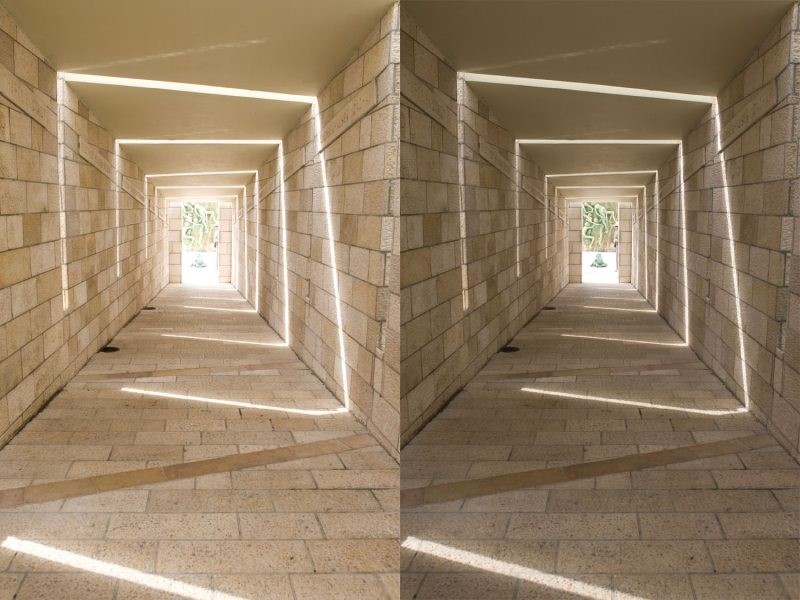
Every beginner and expert in travel photography must know how to use exposure. As a beginner photographer, it can be a challenge to learn the many menu options and buttons on a digital camera.
However, using a bad camera exposure is not an excuse. If you learn to expose your travel photos correctly, they will have the ideal brightness, as well as a great level of detail in the highlight areas and shadows.
Source
6. Getting Rid of Unwanted Objects or Elements:
You can take splendid travel photos, but find out later that certain elements and objects, such as birds, poles and bushes are unnecessary because they distract the image viewer from the main message. Almost all photo editing tools come with an “erase tool’’ to get rid of these elements or objects. You must learn to use the tools properly if you want your travel photos to pop.
The Wrap
Photo editing is one of the most important steps to fine-tune your travel photos. It helps you to enhance the quality and feel of your work, as well as create your own style. With these photo editing tips, you can be a pro photo editor in a shorter time scale.


1 Comment